5 Easy Steps to Replace Your Car Fender - The Metal Surgeon
Auto Maintenance Tips
Introduction
Welcome to The Metal Surgeon, your trusted destination for automotive fender replacement. In this guide, we will walk you through the 5 easy steps to replace your car fender and achieve a professional result. Whether you want to fix a damaged fender or upgrade the look of your vehicle, we've got you covered. Our team of experts at BK Autosports specializes in providing top-notch automotive services, including fender replacement for all types of vehicles in the automotive industry.
Step 1: Assess the Damage
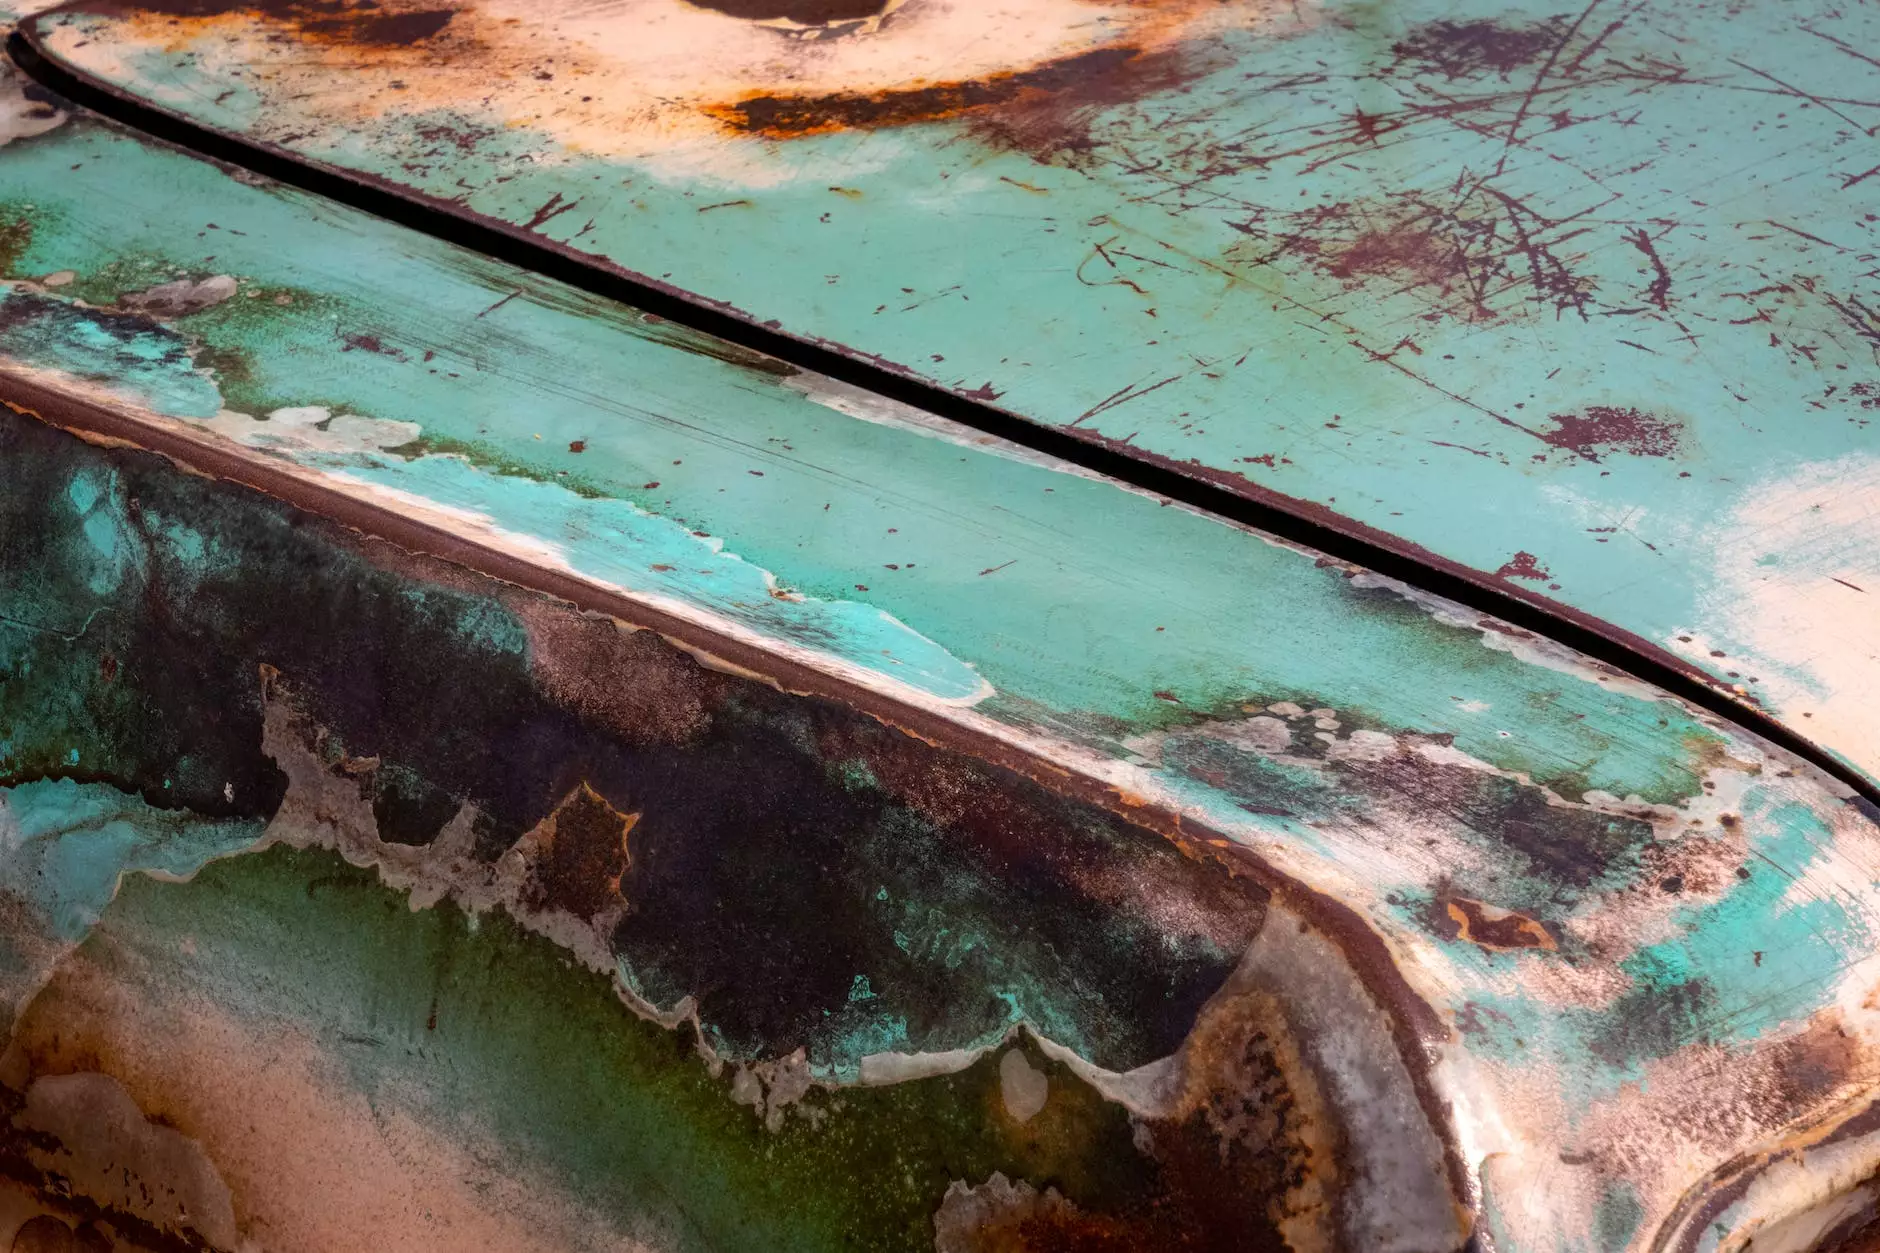
Before you dive into fender replacement, it's crucial to assess the extent of the damage. Inspect the fender carefully to identify any dents, rust, or structural issues. Take detailed notes or pictures to document the condition. This assessment will help you determine if the fender can be repaired or if a replacement is necessary.
Step 2: Gather the Necessary Tools and Materials
Once you've assessed the damage and decided on fender replacement, it's time to gather the necessary tools and materials. You'll need:
- Socket set
- Screwdrivers
- Primer
- Paint
- Protective gear (gloves, goggles, mask)
- New fender
Make sure you have all the required items ready before proceeding to the next step.
Step 3: Remove the Old Fender
The next step is to remove the old fender from your vehicle. Start by disconnecting the battery to avoid any electrical mishaps. Use the appropriate tools to detach the fender from its mounting points. This may involve unscrewing bolts, removing clips, or prying the fender away from the body. Take extra care not to damage any surrounding parts during the removal process.
Step 4: Install the New Fender
With the old fender out of the way, it's time to install the new one. Carefully align the new fender with the mounting points on your vehicle and secure it in place. Use the appropriate screws or clips to ensure a proper fit. Double-check the alignment to guarantee a seamless appearance. If necessary, make any adjustments to achieve a perfect fit before moving on to the final step.
Step 5: Finishing Touches and Paint
Once the new fender is securely installed, it's time to add the finishing touches. Remove any protective film or covering from the fender surface. Give the entire area a thorough cleaning to remove dirt or debris. Apply a layer of primer to the fender surface for added protection and improved paint adhesion.
After the primer has dried, it's time to apply the paint. Choose a high-quality automotive paint that matches your vehicle's color. Apply multiple thin coats, allowing each coat to dry before applying the next. This ensures a smooth and professional-looking finish. Once the paint has dried, apply a clear coat to add an extra layer of protection.
Contact BK Autosports for Expert Fender Replacement
Congratulations! You have successfully replaced your car fender using The Metal Surgeon's 5 easy steps. If you prefer professional assistance or encounter any difficulties during the process, don't hesitate to contact BK Autosports, the leading expert in automotive services. Our team of skilled technicians is ready to assist you and ensure your vehicle's fender replacement is done to perfection.
At BK Autosports, we strive to provide the highest quality service in the automotive industry. From fender replacement to general repairs and enhancements, we cover all your automotive needs. Trust our expertise and let us help your vehicle look and perform at its best.
Conclusion
Replacing a car fender may seem like a daunting task, but with The Metal Surgeon's 5 easy steps, it becomes a breeze. Follow our detailed instructions and heed our expert tips to achieve a professional result. Remember, proper assessment, gathering the right tools, careful removal, precise installation, and flawless finishing touches are the key to success. Should you require assistance, contact BK Autosports, the go-to destination for all your automotive fender replacement needs.


