Repairing Car Paint Chips
Auto Maintenance Tips
Introduction
Welcome to BK Autosports, your trusted source for expert advice and solutions in the automotive industry. In this comprehensive guide, we will provide you with valuable insights and techniques to effectively repair car paint chips. As leaders in the field, we understand the importance of maintaining a flawless finish for your vehicle, and we are here to help you achieve just that.
The Importance of Car Paint Chip Repair
Car paint chips are inevitable and can occur due to various factors such as road debris, weather conditions, and normal wear and tear. Although they may seem like minor imperfections, neglecting to repair these paint chips can lead to more significant issues over time. Unrepaired chips can cause the underlying metal to corrode, compromising the structural integrity and affecting the overall appearance of your vehicle.
At BK Autosports, we believe that every detail matters when it comes to your vehicle. That's why we emphasize the importance of promptly addressing paint chips to ensure long-term protection and maintain its resale value.
Understanding Car Paint Chip Types
Not all car paint chips are the same, and it is essential to identify the type of chip before starting the repair process. Here are the common types of car paint chips:
1. Surface-Level Chips
Surface-level chips are typically shallow and affect only the clear coat layer. These chips are relatively easy to repair and can often be fixed with minimal effort.
2. Primer-Level Chips
Primer-level chips penetrate through the clear coat and expose the primer layer beneath. These chips require more attention during the repair process to ensure proper adhesion and seamless blending with the surrounding paint.
3. Deep Paint Chips
Deep paint chips are the most severe and extend through all layers, including the base coat. Repairing deep paint chips may involve more complex procedures, including color matching and multiple layers of paint application to achieve a seamless finish.
Tools and Materials Needed for Car Paint Chip Repair
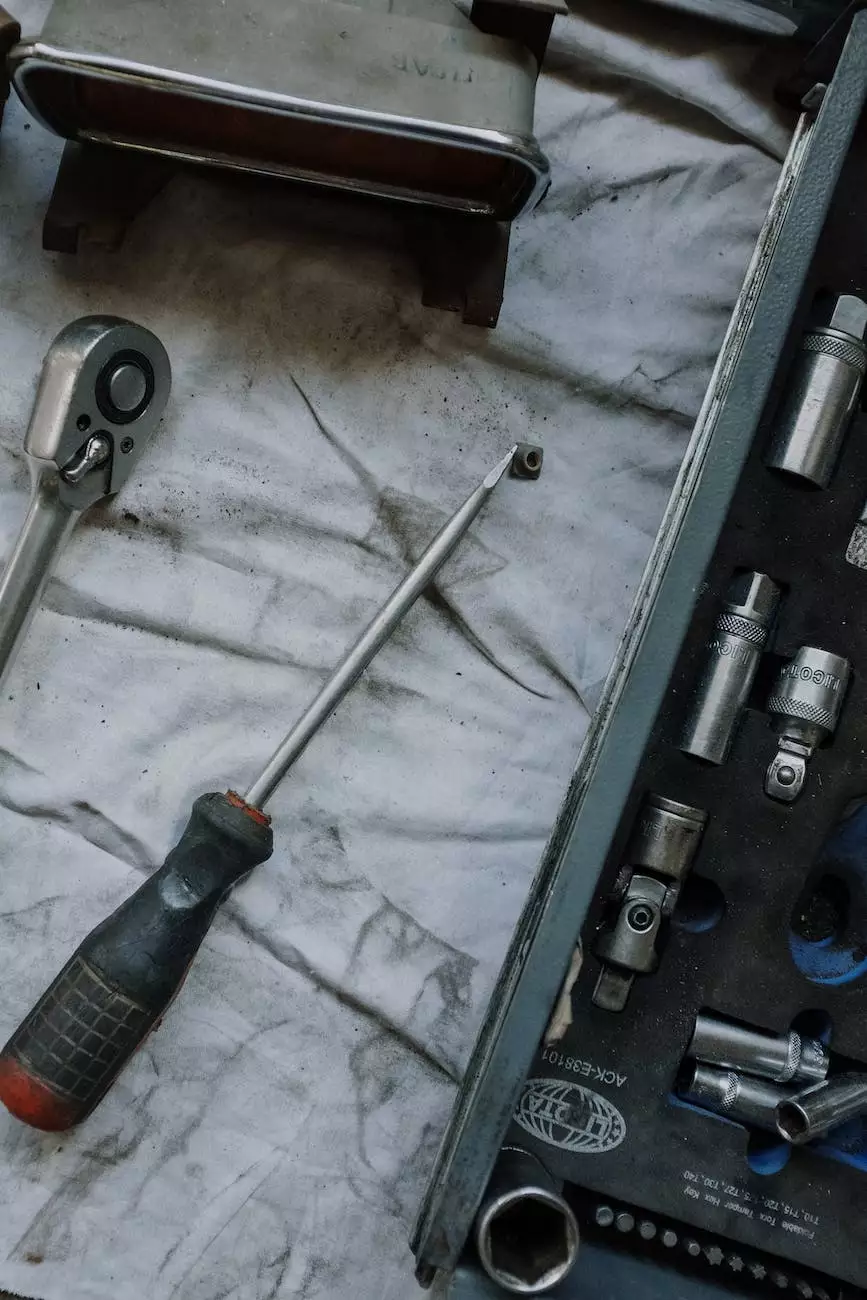
Before you embark on repairing car paint chips, it is essential to gather the necessary tools and materials. Here are some items you will need:
- Touch-up paint matched to your vehicle's color code
- Clear coat for protecting the repaired area
- Paint primer for deeper chips
- Sandpaper or abrasive pads for surface preparation
- Applicators such as brushes or syringes
- Masking tape to protect surrounding areas
- Clean microfiber cloths for wiping and polishing
Step-by-Step Car Paint Chip Repair Process
Now that you have the necessary tools and materials, let's dive into the step-by-step process of repairing car paint chips:
Step 1: Clean and Prep the Surface
Begin by thoroughly washing the area surrounding the paint chip using a mild car wash soap. Dry the surface with a clean microfiber cloth. Then, gently sand the chip and the surrounding area using a fine-grade sandpaper or abrasive pad to create a smooth surface for proper adhesion.
Step 2: Apply Primer (If Required)
If you are dealing with deeper chips that have exposed the primer layer, apply a thin layer of paint primer to promote better adhesion and improve the overall finish of the repair. Allow the primer to dry completely before proceeding to the next step.
Step 3: Apply Touch-Up Paint
Using the appropriate applicator, carefully apply the touch-up paint to the chip, layering it until the paint is level with the surrounding surface. Take your time to ensure an even application and avoid excessive buildup, as it may require additional sanding and polishing later on.
Step 4: Allow the Paint to Cure
Allow the touch-up paint to cure based on the manufacturer's instructions. This typically involves letting it dry for several hours or overnight. Ensure the area is protected from dust, debris, and other potential contaminants during the curing process.
Step 5: Apply Clear Coat
Once the touch-up paint has dried and cured, apply a thin layer of clear coat over the repaired area. The clear coat will provide added protection and help blend the repair seamlessly with the surrounding paint. Follow the recommended drying time for the clear coat before proceeding to the final step.
Step 6: Polish and Wax
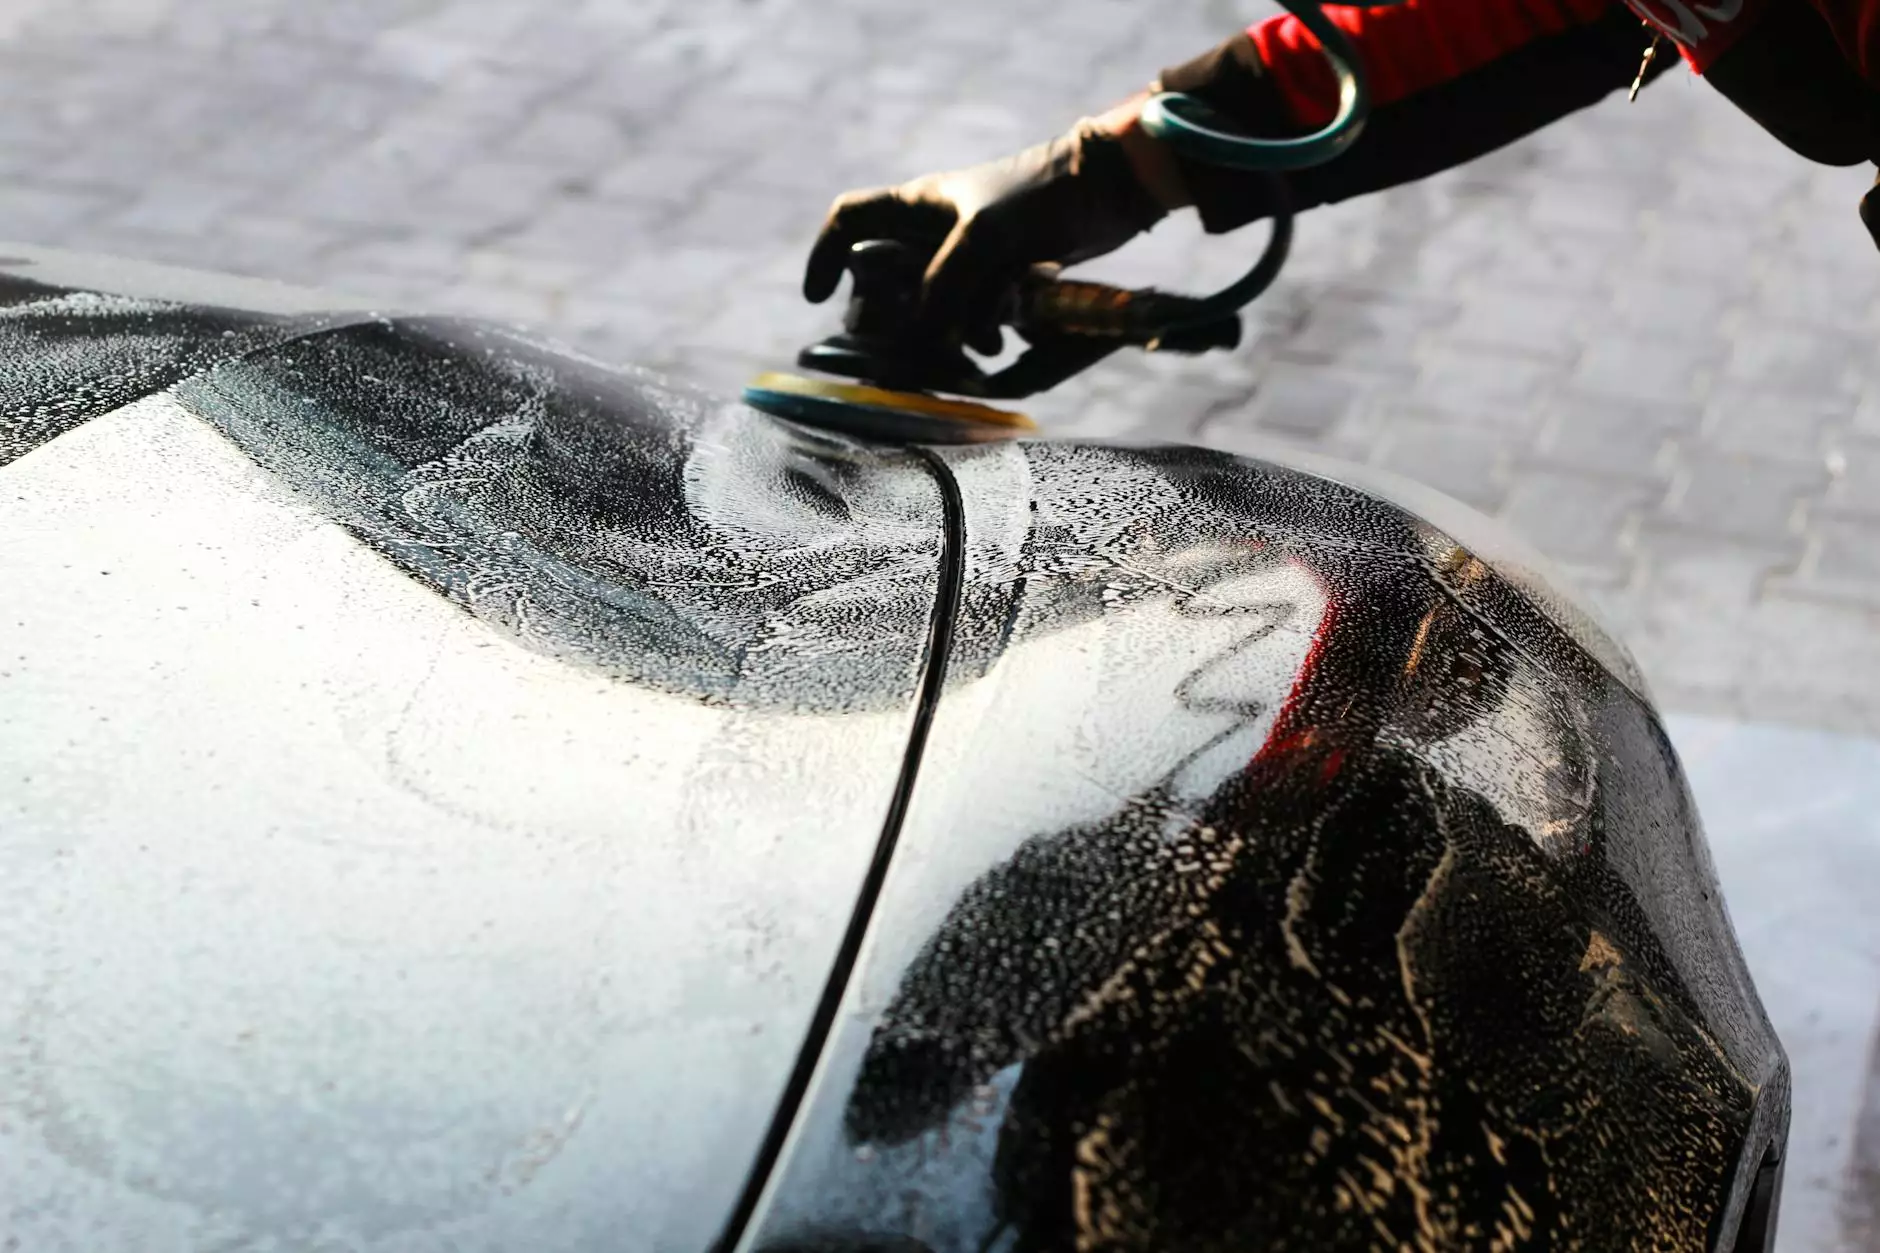
After the clear coat has dried, gently buff the repaired area using a clean microfiber cloth to remove any imperfections or unevenness. To further enhance the appearance and protect the repaired surface, consider applying a layer of wax to the entire vehicle.
Tips for Achieving a Flawless Car Paint Chip Repair
Follow these additional tips to ensure a professional-looking repair:
- Always work in a clean and well-ventilated area to avoid contaminating the paint.
- Take your time and be patient throughout the process, as rushing can lead to subpar results.
- Use light and even brush strokes or applicator movements to achieve a seamless blend.
- If unsure about color matching, test the touch-up paint on an inconspicuous area of your vehicle first.
- Regularly inspect your vehicle for new paint chips and address them promptly to prevent further damage.
Conclusion
Repairing car paint chips is a crucial aspect of proper vehicle maintenance and care. With the help of BK Autosports, you now have a comprehensive understanding of the process, tools required, and essential tips to achieve a flawless repair.
Remember, prompt attention to car paint chips can prevent future complications and preserve the value and appearance of your vehicle. Trust BK Autosports to provide you with the expert guidance and resources you need for all your automotive needs.


